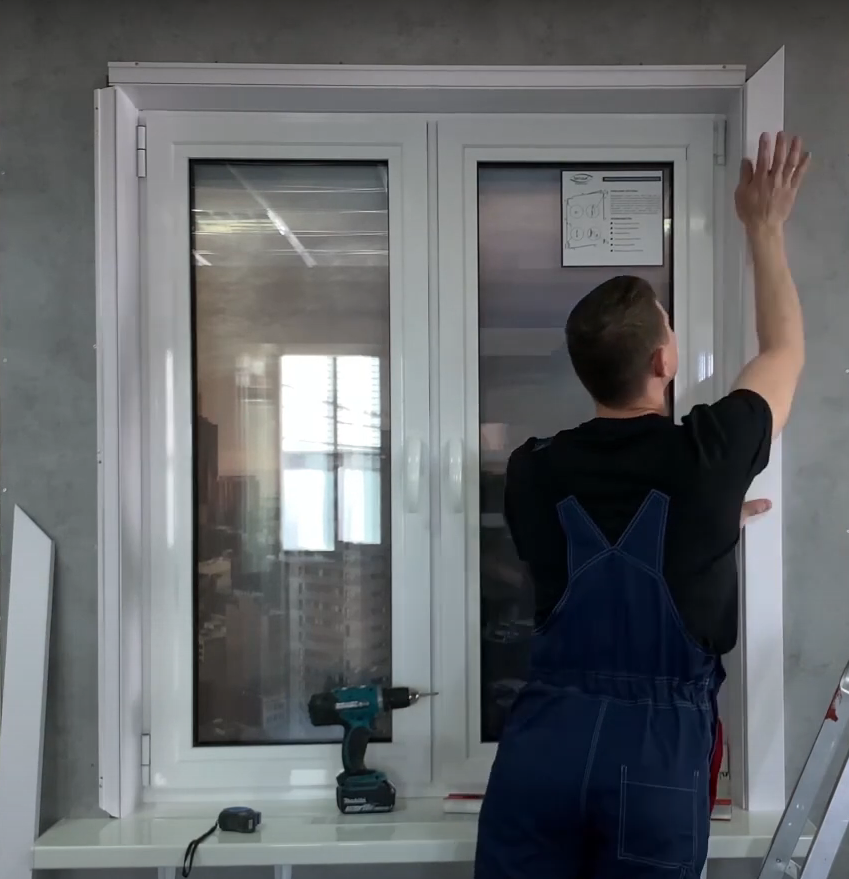
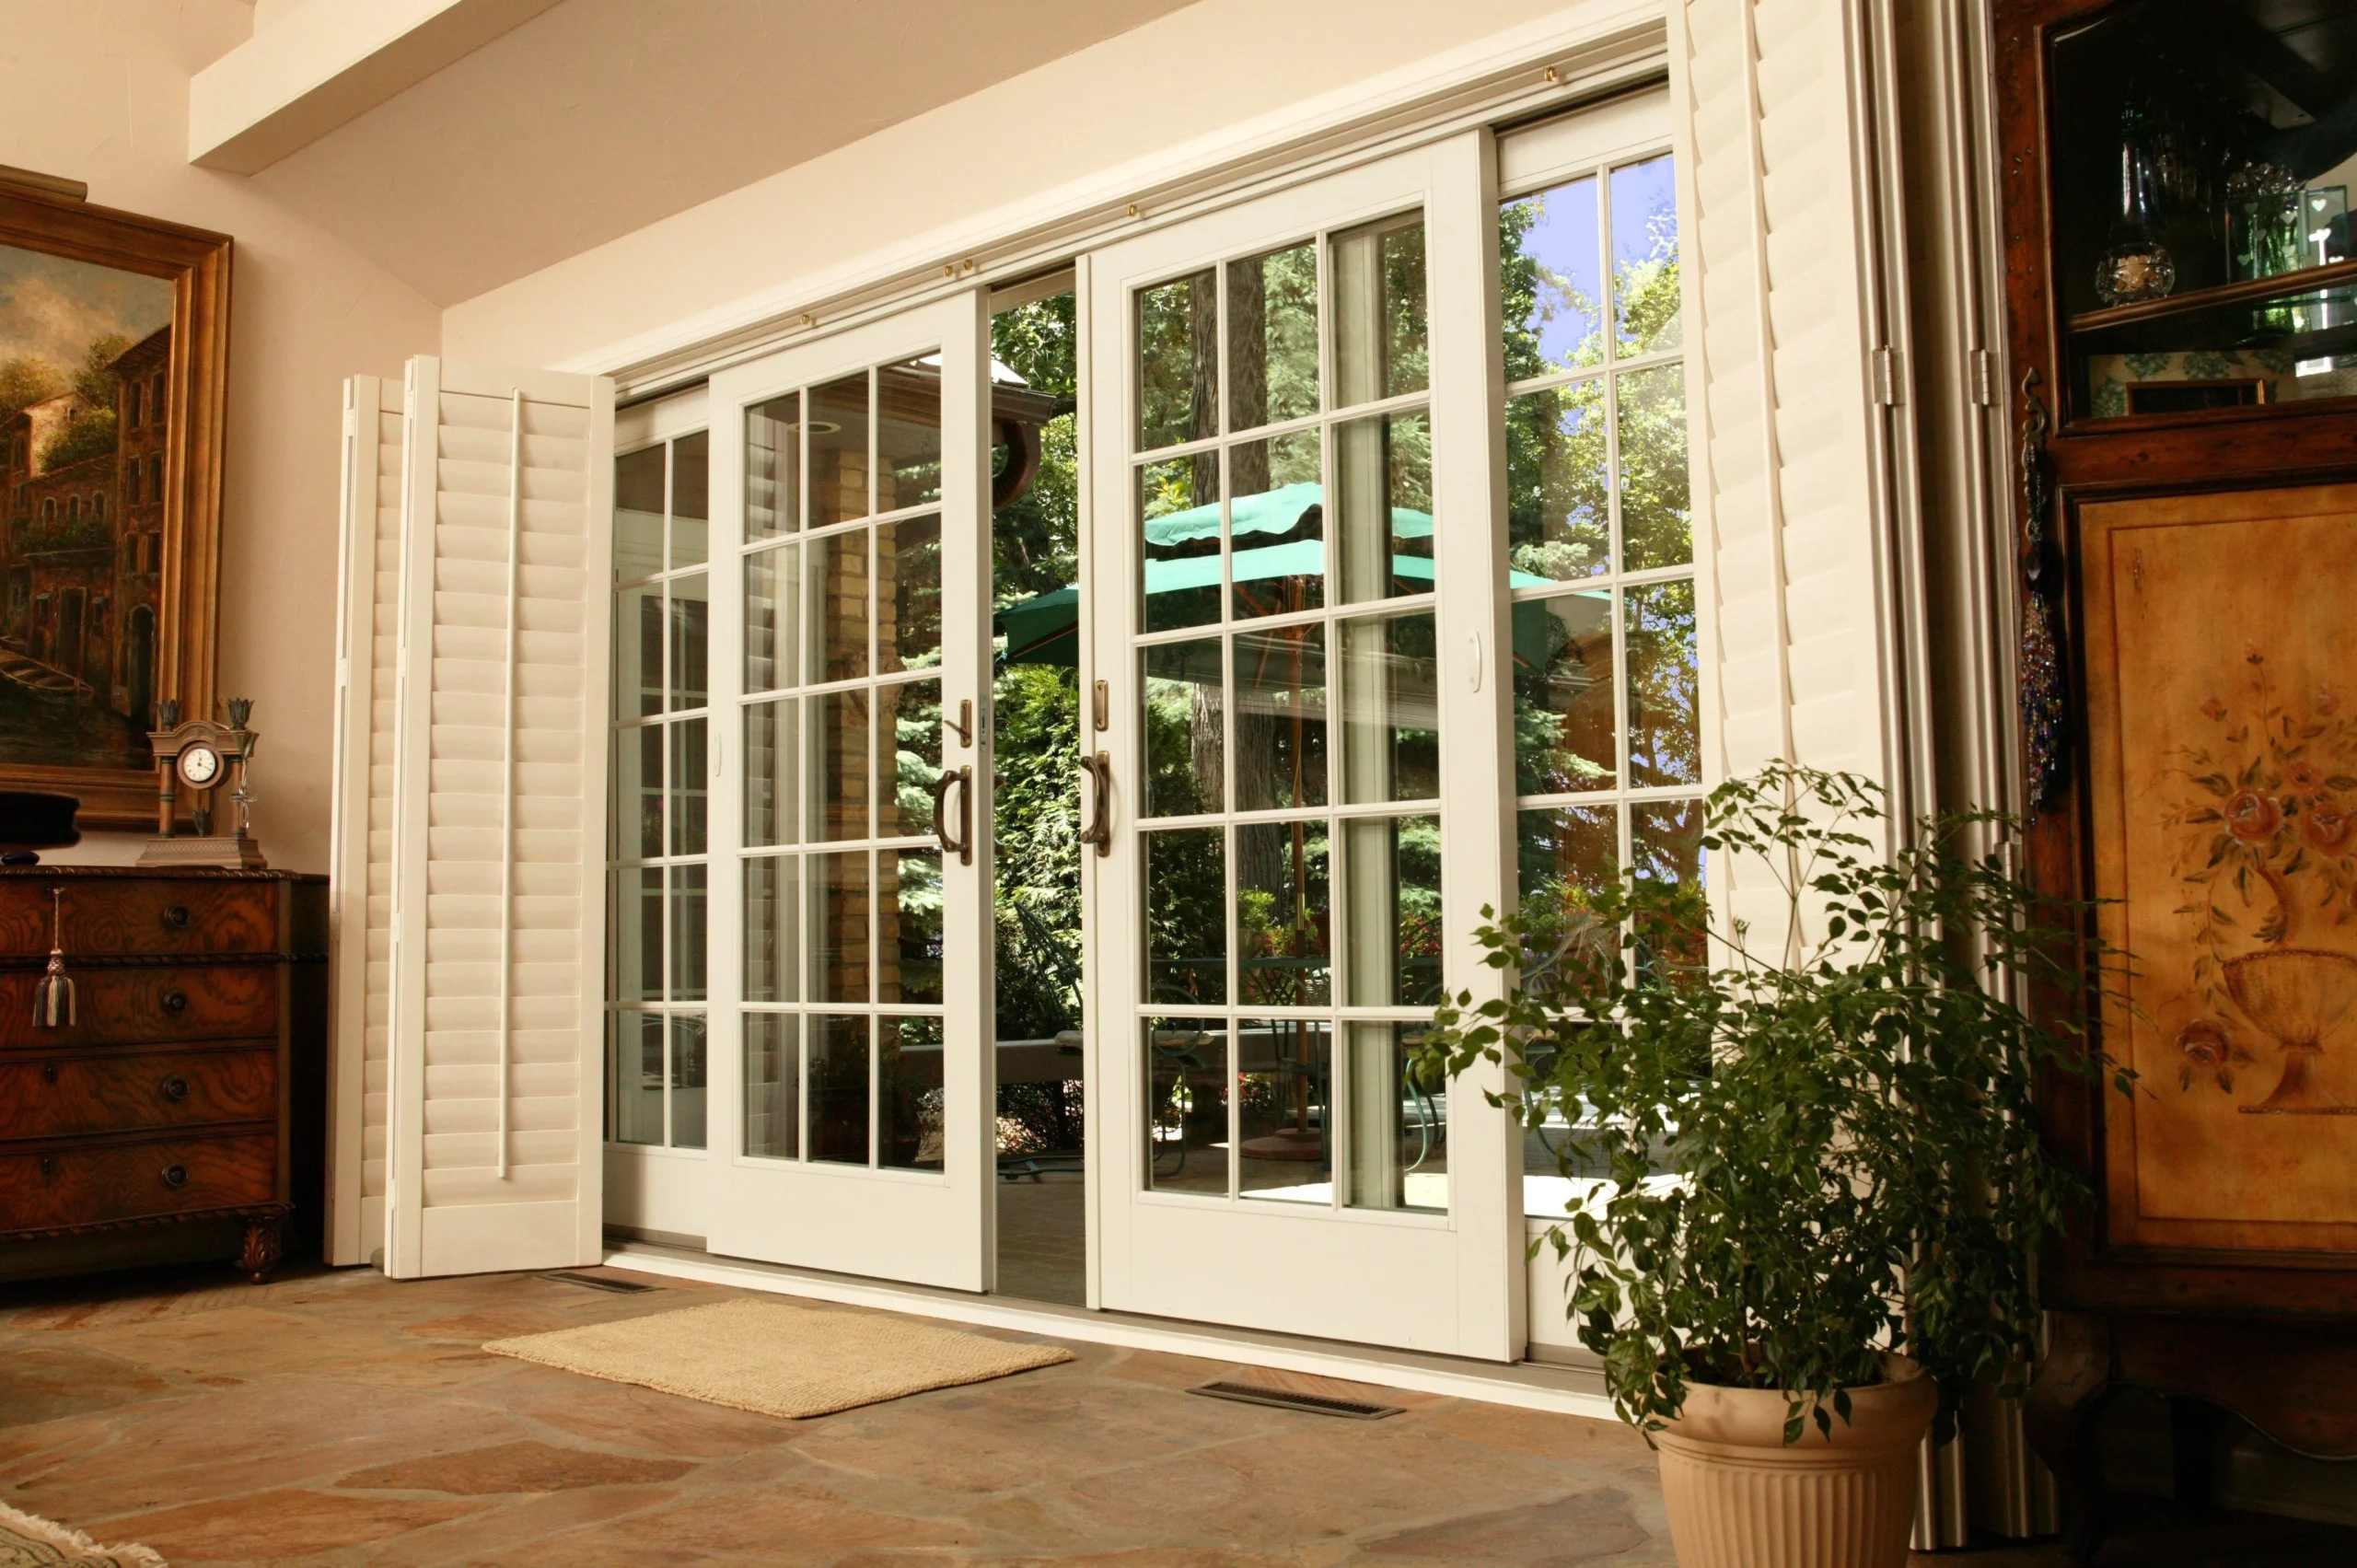
There’s something truly captivating about French doors that effortlessly adds a touch of elegance and sophistication to any space.
Why Installing French Door?
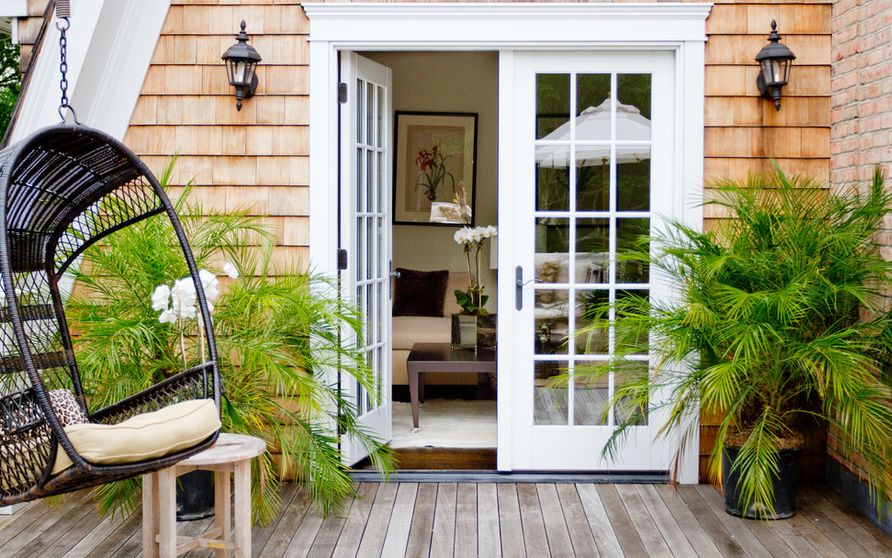
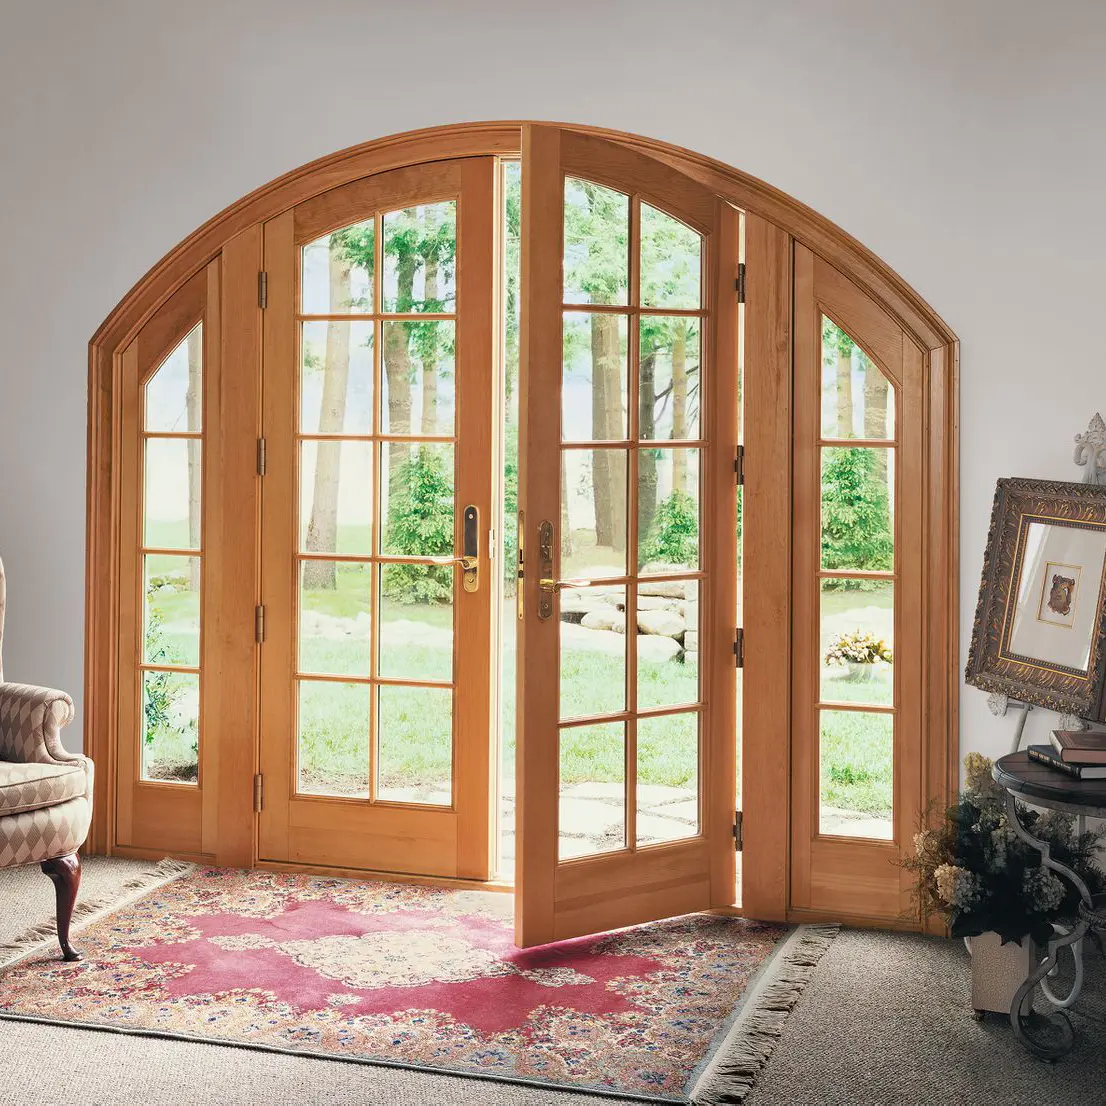
Whether you’re looking to connect your indoor and outdoor areas seamlessly or introduce an element of timeless charm, installing Double French doors is a wonderful choice.
So, let’s unlock the secrets of installing these beautiful doors and transform your space into a haven of Style and Sophistication.
What do you need to do before Installing French Doors?
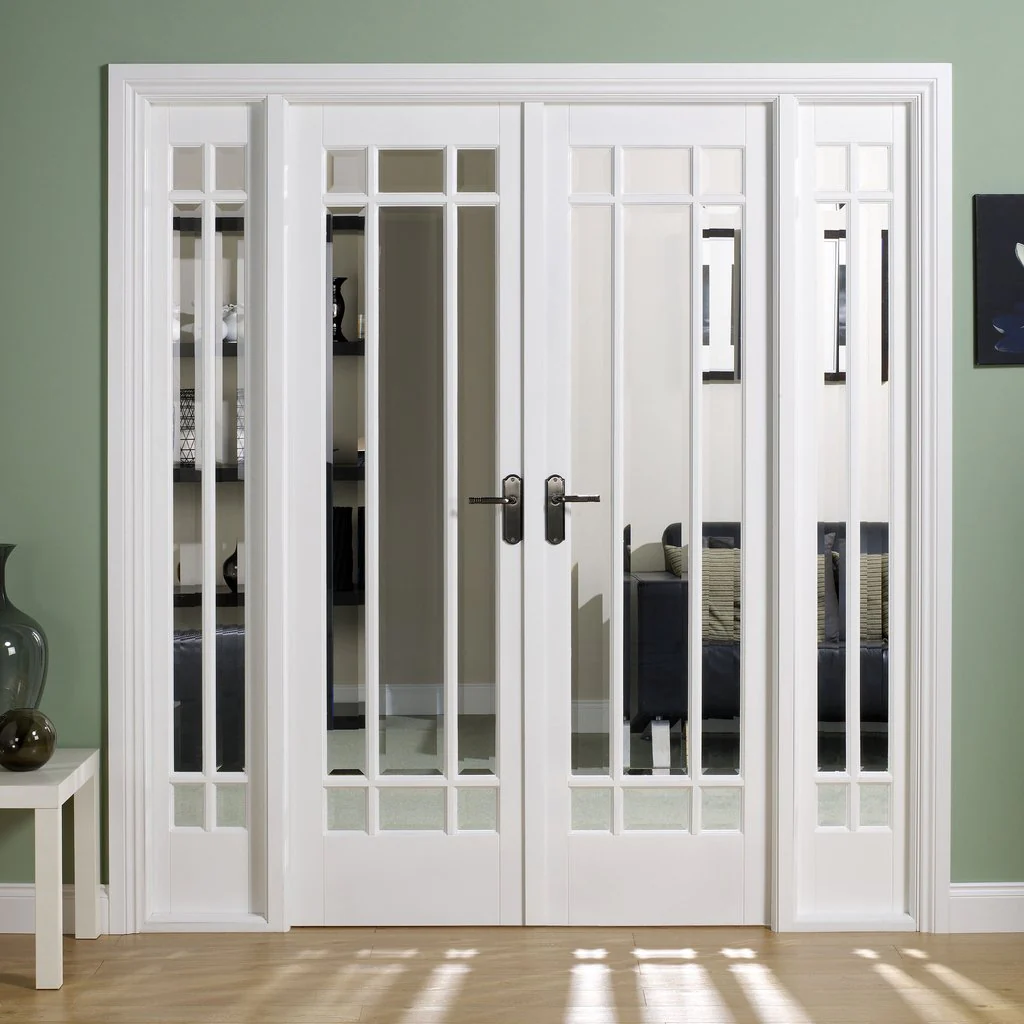
Here are some essential steps to consider before getting started with installing French doors interior.
- Measure Accurately
- Choose the Right Material
- Plan for Natural Light and Privacy
- Obtain the Necessary Permits
1. Measure Accurately
Before purchasing your French doors, accurate measurements are key. Measure the height, width, and depth of the opening where you plan to install the doors. Remember to measure both the rough opening (the total space) and the finished opening (the actual door frame size). Ensuring precise measurements will help you purchase the right-sized doors and avoid future headaches during installation.
2. Choose the Right Material
Selecting the right material for your French doors Home Depot is crucial for longevity and aesthetics. Consider factors like climate, budget, and personal preference when making your decision.
3. Plan for Natural Light and Privacy

Black doors are known for their ability to let natural light flood into a room. However, it’s essential to consider privacy needs as well. Depending on the specific location, you might want to opt for frosted or tinted glass or install curtains or blinds for added privacy when desired. Balancing natural light and personal preferences will help create a cozy and functional space.
4. Obtain the Necessary Permits:
Before starting any major home improvement project, it’s important to check with your local authorities if permits are required. Shades for French door installations may require permits due to modifications to the existing structure or electrical work. Failing to obtain the necessary permits can lead to fines or complications down the road.
What are the Steps to Install French Doors?
- Tools and Materials for Installing
- Measure the Doorway
- Cut the Sill Pan
- Install the Door Frame
- Mount the French Doors
- Install the Strike Plates
- Seal the Door Frame
- Install the Doorknobs and Lock
- Conclusion
Tools and Materials for Installing:
-
Measuring Tape:
A measuring tape is an indispensable tool for accurately determining the dimensions of your door opening. It will help you ensure that the wood French doors you purchase are the correct size, eliminating any installation errors caused by incorrect measurements.
-
Level:
A level is crucial for ensuring that your French doors are installed correctly and aligned properly. It will help you determine if the doors are plumb (vertically straight) and level (horizontally even), resulting in evenly distributed weight and smooth operation.
-
Screwdriver Set:
A screwdriver set, including both flathead and Phillips-head screwdrivers, will come in handy for removing existing hardware and installing new hinges, handles, and Locks. Make sure to have a variety of sizes to accommodate different screw types.
-
Power Drill:
A power drill with the appropriate drill bits will make the installation process much faster and easier. It will enable you to pre-drill holes for screws, ensuring a secure and accurate fit.
-
Chisel:
A chisel is useful for mortising the hinges and door latch. It allows you to create recesses in the door and door frame, ensuring a flush fit and smooth operation.
-
Pry Bar:
A pry bar will assist in removing any trim or molding from the existing door frame, allowing for a clean and seamless installation of the Double French doors.
-
Shims:
Shims are thin, wedge-shaped pieces used to level and align the doors within the opening. They play a crucial role in ensuring that the doors open and close smoothly.
-
Caulk Gun and Sealant:
A caulking gun and sealant are necessary for properly sealing gaps between the door frame and the wall, preventing drafts and potential water infiltration.
-
Safety Equipment:
Don’t forget to prioritize safety. Have safety goggles, gloves, and a dust mask to protect yourself from flying debris, sharp edges, and dust during the installation process.
Measure the Doorway:

-
Gather the necessary tools:
Before getting started, gather the tools you’ll need: a measuring tape, a pencil, and a notepad or measuring app to record your measurements.
-
Determine the rough opening size:
Measure the width of the doorway from inside the existing door jamb on one side to the opposite side. Take the measurement at the top, middle, and bottom of the opening, as irregularities can occur due to settling or uneven walls. Note down the widest measurement as the rough opening width.
-
Measure the height:
Measure the height of the doorway from the floor to the inside top of the existing door jamb. Again, take measurements at multiple points, noting the tallest measurement as the rough opening height.
-
Determine the finished opening size:
To calculate the finished opening size, subtract the recommended clearance (usually around 1/2 inch) for the frame from the rough opening measurements. This will give you the correct dimensions for ordering or cutting the Double French doors.
-
Consider additional clearance:
If you plan to install trim or molding around the French doors, account for the space they will occupy when calculating the finished opening size. Ensure you have enough clearance for a clean and easy installation.
Cut the Sill Pan:
-
Gather the necessary tools and materials:
Before starting, gather the required tools and materials, including a circular saw, tape measure, utility knife, straightedge, exterior-grade adhesive, and a pre-formed sill pan kit with flashing.
-
Prepare the opening:
Clean the area where the sill pan will be installed. Remove any debris or obstructions, ensuring a smooth surface for proper installation.
-
Transfer measurements to the sill pan:
Transfer the width measurement from the opening onto the sill pan. Use a straightedge to draw a line, indicating where you need to cut the sill pan.
-
Cut the sill pan:
Using a circular saw, carefully cut along the marked line on the sill pan. Follow the manufacturer’s instructions for cutting the pan, as different products may have specific guidelines.
-
Test the fit:
Place the cut sill pan into the doorway to test the fit. It should fit snugly, covering the entire span of the opening. Make any necessary adjustments if the pan is too large or needs trimming.
-
Apply adhesive:
Using exterior-grade adhesive, apply a continuous bead along the bottom of the opening where the sill pan will sit. This adhesive will help create a watertight seal.
-
Install the sill pan:
Carefully place the cut sill pan into the doorway, ensuring it sits securely on top of the adhesive. Press it down firmly to ensure proper adhesion and a tight fit against the bottom of the opening.
-
Install flashing:
Follow the manufacturer’s instructions to install flashing around the edges of the sill pan. Flashing helps redirect any water away from the opening, preventing leaks and water damage.
-
Secure the sill pan:
Secure the sill pan in place by following the manufacturer’s instructions or using appropriate fasteners. These may include screws or nails, depending on the specific product and recommendations.
Install the Door Frame:
-
Prepare the rough opening:
Clean the rough opening area, removing any debris or obstructions. This will provide a clean surface for the door frame installation.
-
Position the door frame:
Position the door frame within the rough opening, ensuring it is centered and properly aligned. Use shims to adjust and level the frame as necessary.
-
Check for plumb and level:
Using a level, check the sides and top of the door frame to ensure they are plumb (vertical) and level (horizontal). Make adjustments with shims as needed to achieve proper alignment.
-
Secure the frame:
Once the door frame is properly positioned and leveled, secure it in place using screws or nails. Start by securing the hinge side first, ensuring it remains plumb and level.
-
Check for squareness:
To ensure the door frame is square, measure the diagonal distances from corner to corner. The measurements should be equal, indicating that the frame is square. Adjust as necessary by tapping the frame with a hammer.
-
Reinforce the frame:
To strengthen the door frame, insert screws or nails through the shims and into the wall studs. This will provide added stability and security.
-
Insulate the gaps:
Apply insulation foam or caulk to any gaps between the door frame and rough opening. This helps improve energy efficiency and provides additional weatherproofing.
-
Test the functionality:
Open and close the modern French doors on both sides to ensure they operate smoothly within the newly installed frame. Make any necessary adjustments to the shims or hardware to achieve proper functionality.
-
Trim and finish:
Install trim and molding around the door frame to enhance the overall appearance. Finish the trim with paint or stain to match your desired aesthetic.
Mount the French Doors:
-
Preparing the Opening:
Ensure that the rough opening for your French doors is properly framed and sized according to the manufacturer’s instructions.
-
Place the Doors:
With the help of a friend, carefully place the French doors into the opening. Use shims to ensure they are centered both horizontally and vertically, leaving even gaps between the door frame and the opening. This step is essential to achieve proper functionality and prevent binding.
-
Secure the Hinge Side:
Starting with the hinge side, secure the door frame to the rough opening using shims and screws. Begin at the top hinge and work your way down, adjusting the shims as needed to maintain a level and plumb position. Ensure the door swings freely without any interference.
-
Level and Plumb the Non-Hinge Side:
Once the hinge side is securely in place, move to the non-hinge side of the door frame. Use a level and shims to make sure it is perfectly vertical and plumb. Adjust the shims as necessary to create an even gap between the door frame and the rough opening.
-
Secure the Non-Hinge Side:
Similar to the hinge side, secure the non-hinge side of the door frame using shims and screws. Start at the top and work your way down, adjusting the shims to maintain a level and plumb position. Confirm that the doors swing smoothly and close properly without any resistance.
Install the Strike Plates:
-
Choose the Right Strike Plates:
Before starting the installation process, ensure you have the correct strike plates that match your doors’ lockset.
-
Locate the Ideal Position:
Take the time to carefully mark the ideal position for your strike plates on the door jamb. Typically, they are installed where the door’s latch bolt will meet the jamb when closed. Use a pencil or tape to make clear and accurate markings.
-
Prepare the Jamb Surface:
To ensure a secure installation, it’s essential to properly prepare the surface of the door jamb. Use a chisel and hammer to create a mortise—a rectangular recess—within the marked area on the jamb. The depth of the mortise should be slightly deeper than the strike plate itself.
-
Align and Secure:
Once the mortise is ready, align the strike plate with the hole in the jamb, ensuring it rests flush against the surface. Secure it in place using the provided screws, making sure to tighten them firmly but without overtightening, which could strip the screw holes.
-
Verify the Latch Alignment:
Before finishing the installation, check that the door’s latch bolt aligns correctly with the newly installed strike plate. Close the door and observe if the latch bolt fits smoothly into the strike plate, securing the door tightly. Make any necessary adjustments to achieve a proper fit.
-
Test the Door:
Once you’ve installed the strike plates, test the doors by opening and closing them multiple times. Check that the latching mechanism engages smoothly and securely. If there are any issues, reevaluate the alignment and make any required adjustments until the doors operate flawlessly.
-
Enhance Security Features:
Consider adding additional security features, such as longer screws, that reach beyond the strike plate into the door jamb. This reinforcement can help increase the overall strength and durability of your Double French doors’ locking mechanism.
Seal the Door Frame :
-
Choose the Right Weatherstripping Material:
There are various types of weatherstripping materials available, including adhesive-backed foam tape, V-strip, and door sweeps. Consider factors such as your climate, door size, and personal preference when selecting the appropriate material for sealing your French doors frame.
-
Prepare the Door Frame:
Before applying weatherstripping, ensure that the door frame surface is clean and dry. Remove any existing weatherstripping or debris using a scraper or sandpaper. It’s essential to start with a smooth and clean surface for the best adhesion and sealing results.
-
Measure and Cut the Weatherstripping:
Carefully measure the length of each side of the door frame, accounting for corners and angles. Using these measurements, cut the weatherstripping material to the appropriate lengths, ensuring accuracy for a snug fit.
-
Apply Weatherstripping to the Door Frame:
Starting with one side of the door frame, peel off the backing of the weatherstripping material and press it firmly along the edge, ensuring it adheres securely. Repeat this process for the remaining sides, ensuring a continuous seal around the entire door frame.
-
Check for Proper Closure:
After applying the weatherstripping, close the doors and check for any gaps or areas where the seal may not be tight. Adjust the weatherstripping as needed to ensure a proper and uniform seal along the entire door frame perimeter.
-
Install Door Sweeps:
To further enhance sealing and weather protection, consider installing door sweeps at the bottom of the French doors. Door sweeps prevent drafts, insects, and debris from entering your home. Measure the width of the door and attach the sweep using screws or adhesive.
-
Perform a Tightness Test:
After sealing the door frame, open and close the French doors multiple times to check for any resistance or sticking. The doors should operate smoothly while maintaining a secure and airtight seal. Make any necessary adjustments to achieve the desired functionality.
Install the Doorknobs and Lock
-
Select the Right Doorknob and Lockset:
Prior to installation, choose a doorknob and lockset that complement the style of your French doors and meet your security requirements. Ensure that the selected hardware is compatible with the thickness of your doors and has clear instructions for proper installation.
-
Mark the Drilling Points:
Using a template provided with the lockset or measuring carefully, mark the drilling points on the door surface for both the doorknob and the lock. Double-check these markings to ensure accuracy before proceeding.
-
Drill Pilot Holes:
Using an appropriate drill bit size, carefully drill pilot holes at the marked points on the door for both the doorknob and the lock. Take care to maintain a straight and level drilling angle to facilitate smooth installation.
-
Install the Doorknob:
Begin by inserting the doorknob spindle into the latch mechanism on the edge of the door. Place the exterior portion of the doorknob set onto the spindle, aligning it with the pilot holes. Secure it in place using the provided screws. Repeat the process for the interior portion of the doorknob.
-
Install the Lock:
Following the manufacturer’s instructions, insert the lock cylinder into the pilot hole on the edge of the door. Align the faceplate and secure it in place using the provided screws. Test the functionality of the lock by turning the key and ensuring smooth operation.
-
Test and Adjust:
After installation, test the doorknob and lock to ensure they operate smoothly and securely. Check that the latch engages and disengages properly and that the key operates the lock without resistance. Make any necessary adjustments to the strike plate or latch mechanism for optimal functionality.
-
Enhance Security Measures:
Consider additional security measures such as deadbolts or security plates for added protection. These reinforcements can further strengthen the security of your Double French doors and provide peace of mind.
Conclusion
Installing doorknobs and locks is the final step in completing your Double French door installation. By following these steps, you can successfully install functional and secure hardware that enhances the overall appearance and performance of your French doors. Enjoy the convenience, safety, and peace of mind that come with properly installed doorknobs and locks on your beautiful French doors.